The Beginner’s Guide to Flawless Soldering & Desoldering Techniques

November 26, 2024
Soldering & Desoldering

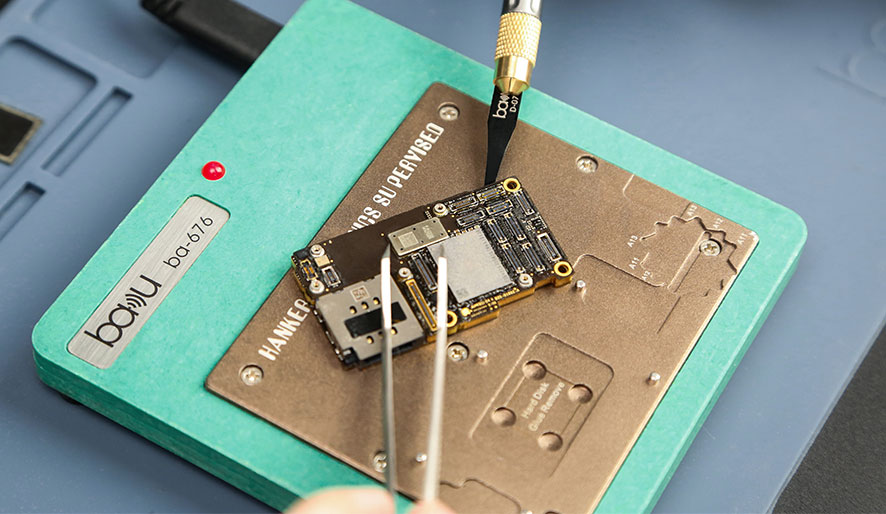
Mastering the art of soldering and desoldering is essential for anyone working with electronics – whether you’re repairing gadgets, building circuits, or tinkering with DIY projects. This beginner-friendly guide explains the basics, tools required, and best practices to ensure clean, precise connections every time.

What You’ll Need

Before starting, gather these tools:

  1. Soldering Iron: A temperature-controlled iron (e.g., 30W–60W for electronics).
  2. Solder: Lead-free rosin-core solder (63/37 Sn/Pb alloy is widely used).
  3. Desoldering Pump/Gun: For removing old solder.
  4. Flux: Optional but helpful for oxidation prevention.
  5. Wire Cutters/Strippers: To trim component leads.
  6. Helping Hands or Clamp: Holds components in place.
  7. Cotton Swabs/Isopropyl Alcohol: For cleaning residue.

Soldering Basics

Step 1: Prepare the Workspace

  • Clean the circuit board or liner with alcohol to remove dust or oxidation.
  • Check whether the tiny components are damaged with a magnifying glass.

Step 2: Tin the Iron Tip

  • Apply a small amount of solder to the tip of the soldering iron to ensure smooth heat transfer. Wipe the excess solder with a damp sponge.

Step 3: Position the Component

  • Fix the component in the appropriate position by hand. Align it with the pads or holes on the circuit board.

Step 4: Soldering Technique

  • First, heat: Place the tip of the soldering iron in contact with both the pad and the component lead for 1-2 seconds to preheat.
  • Apply soldering: Attach the soldering wire to the joint. The solder should melt and flow evenly into the gap.
  • Avoid overheating: Once the solder forms shiny molten beads, remove the soldering iron immediately.

Step 5: Clean Up

  • Allow the solder to cool completely before moving the components. Use alcohol to remove the flux residue.

Desoldering: Removing Components Safely

Method 1: Desoldering Pump (Bullseye)

  1. Place the nozzle of the pump on the weld point.
  2. Press the plunger to absorb the molten solder.
  3. Repeat this step until most of the solder is removed.
  4. Use tweezers to gently pry open the component.

Method 2: Heat Gun + Baking Soda

  1. Heat the connector with a low-temperature hot air gun (or soldering iron).
  2. Sprinkle baking soda on the solder to accelerate oxidation and cause the solder to decompose.
  3. Scrape off the residue with a brass brush.

Method 3: Wick Desoldering

  1. Wrap a copper de-soldered braided (wick) around the joint.
  2. Heat and melt the solder, and the solder will be absorbed by the solder core.

Tips for Success

  1. Work slowly: Rushing increases the risk of damaging components or gaskets.
  2. Use high-quality tools: A good soldering iron with adjustable temperature control improves the results.
  3. Practice on waste circuit boards: Gain confidence before dealing with valuable electronic products.
  4. Handling sensitive components: Use a heat shield or tweezers to avoid bending pins or pads.

Common Mistakes to Avoid

  • Cold solder joints: They occur when the soldering iron is not hot enough or when the joint moves during the soldering process.
  • Overheating: Damages components such as capacitors or LEDs.
  • Insufficient flux: leads to oxidation and weak bonds.
  • Poor clamping: leads to joint dislocation and coldness.

When to Desolder

  • Repair the circuit: Fix the damaged lines or replace the faulty components.
  • Upgrade electronic devices: Replace outdated components with new versions.
  • Recycling: Recovering usable parts from old equipment.

Safety Precautions

  • Work in a well-ventilated place and avoid inhaling smoke.
  • Put on gloves and goggles to prevent burns or debris.
  • When not in use, place the iron on the shelf to prevent accidental burns.

Conclusion

Welding and de-welding may seem intimidating at first, but with practice and the right tools, anyone can master these skills. Start with simple projects, such as replacing resistors or LEDs on the circuit board. When you gain confidence, deal with more complex repairs or builds.

Need step-by-step tutorials or advanced techniques? Explore the detailed instructions and product recommendations of Baku Tools’ electronic soldering guide.

Recommended for you

the stereo microscope

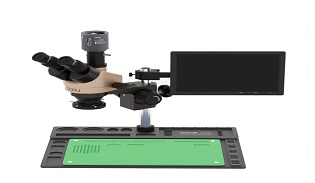
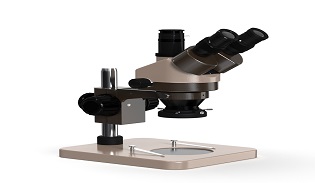
Stereo Microscope Price Guide: What Affects the Cost?

Discover what affects the price of a stereo microscope, including magnification, optical quality, digital features, lighting systems, and build materials. Learn how to choose the right model for electronics repair and precision inspection.

November 22, 2025
a stereo microscope

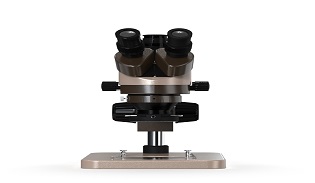
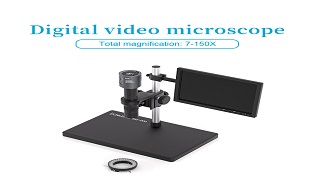
Stereo Microscope Uses: From Science Labs to Electronics Repair

Discover the key applications of stereo microscopes in biology labs, education, micro-soldering, and PCB repair. Learn how 3D magnification improves precision for scientific research and electronics technicians.

November 22, 2025
Binocular Stereo Microscope

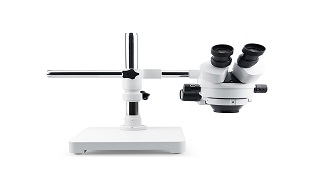
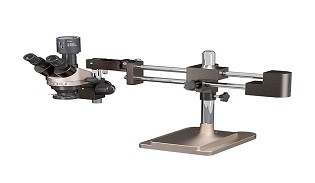
Best Stereo Microscope for PCB, Jewelry, and Laboratory Use

Discover the best stereo microscope for PCB repair, jewelry inspection, and laboratory research. Learn essential features, magnification tips, and top professional recommendations.

November 22, 2025
3D Imaging Microscope-Industrial Stereo Microscope

Industrial Stereo Microscope Applications in Electronics and Manufacturing

Discover how industrial stereo microscopes enhance precision in electronics, PCB inspection, micro-assembly, and manufacturing quality control. Learn key applications and benefits.

November 22, 2025
Trinocular Stereo Zoom Microscope

Compound vs Stereo Microscope: What’s the Difference?

Discover the main differences between compound and stereo microscopes, including magnification, applications, and working distance. Choose the right microscope for your needs.

November 22, 2025
Stereo Digital Microscope

What Is a Stereo Microscope? Key Features and Functions Explained

Learn what a stereo microscope is, how it works, key features, and its uses in electronics repair, manufacturing, and scientific inspection. A complete beginner-friendly guide.

November 22, 2025

INQUIRY